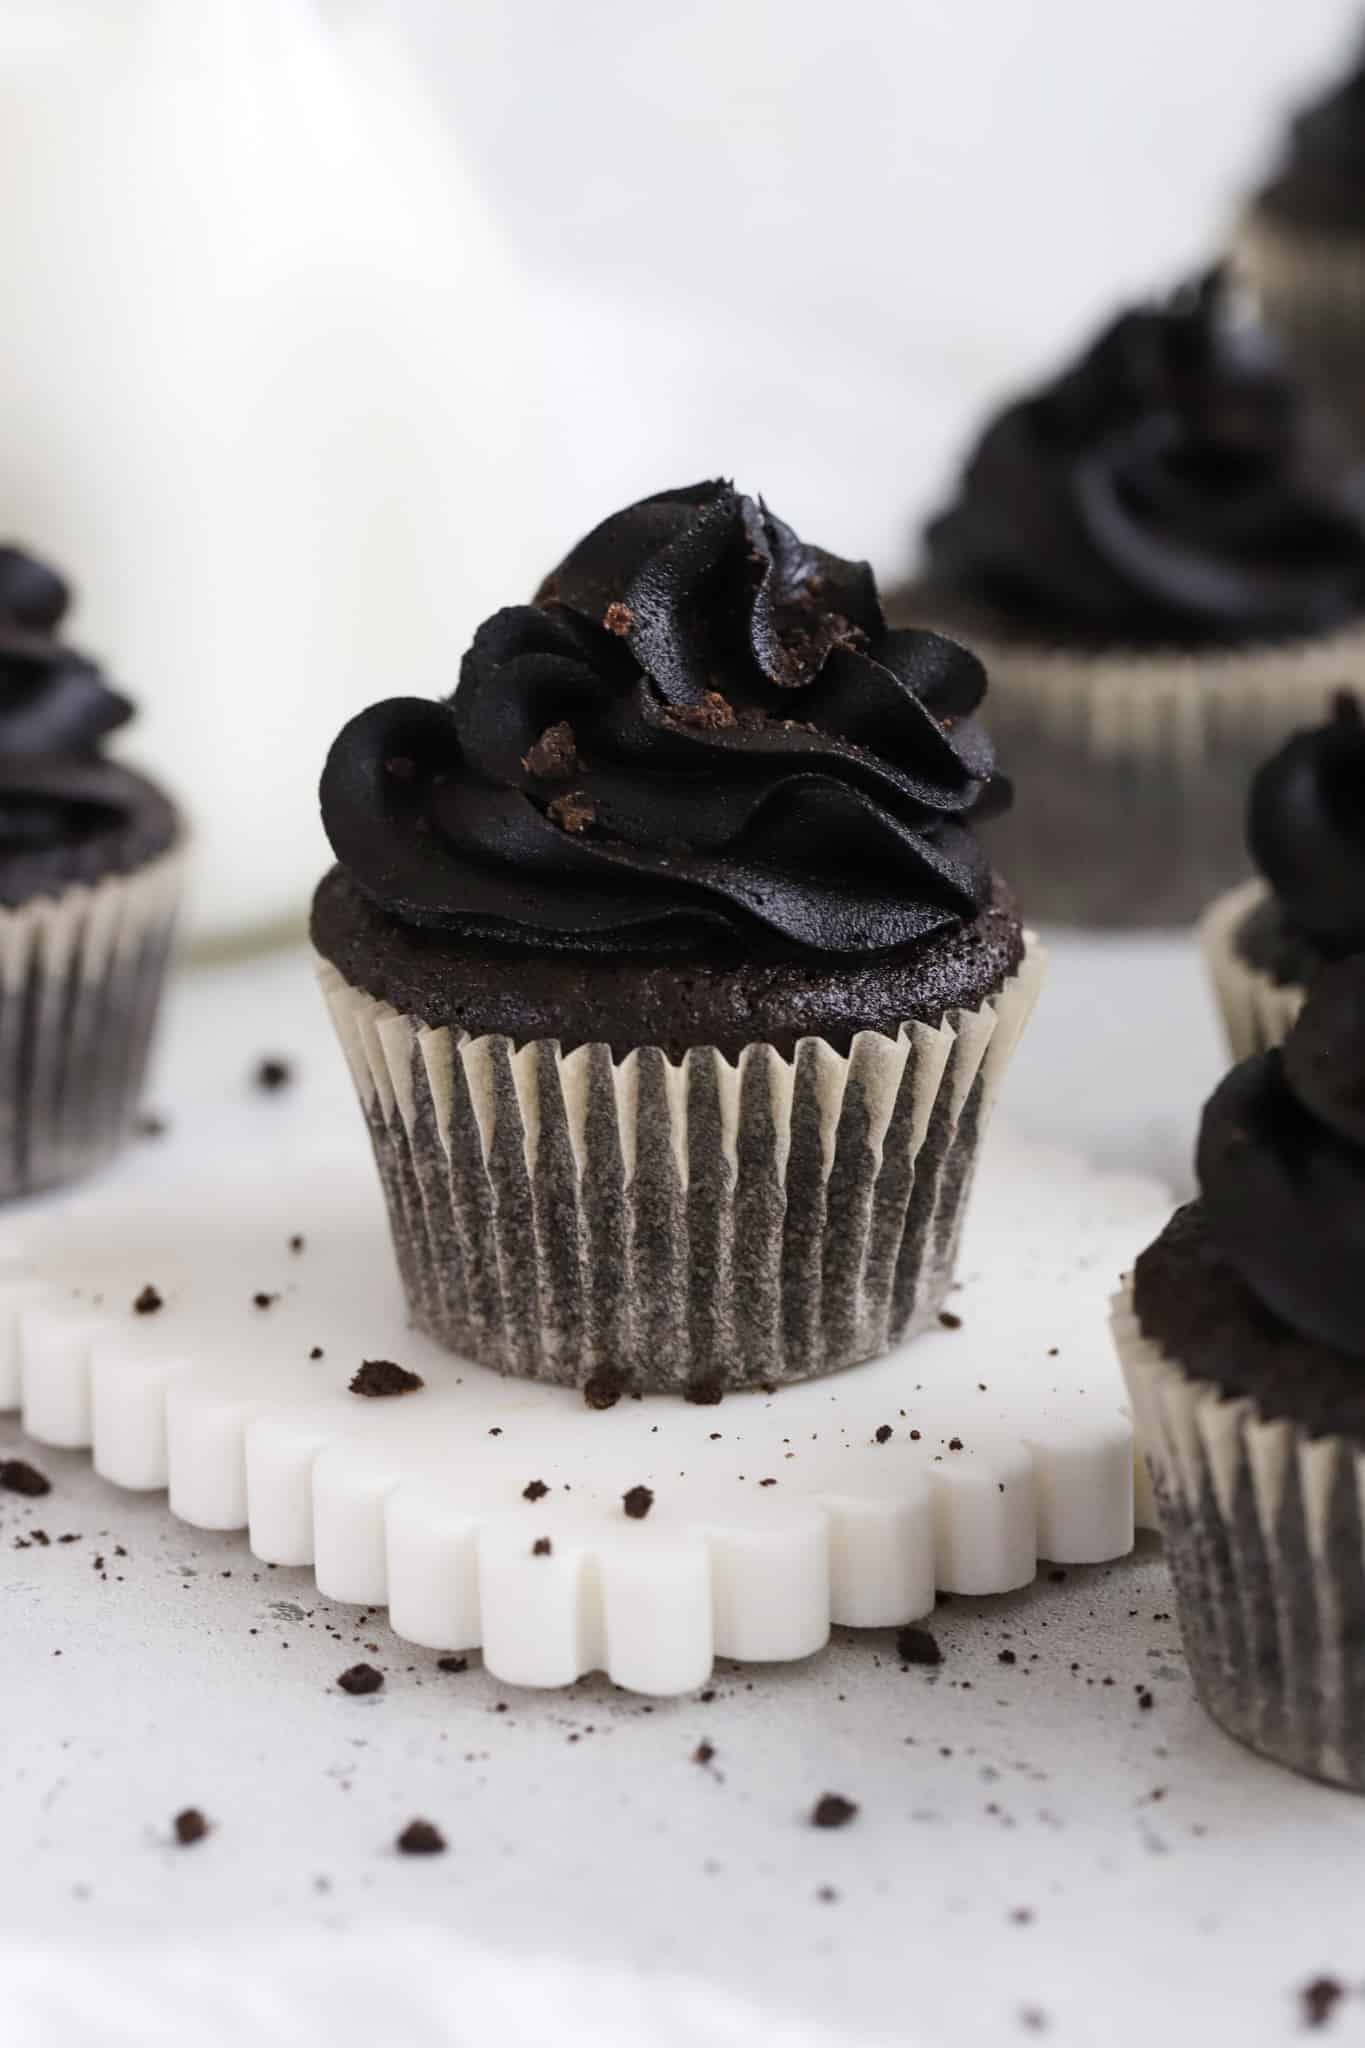
Gluten-Free Black Velvet Cupcakes
These fluffy gluten-free black velvet cupcakes have all of the drama, and none of the dye. We use black cocoa powder instead of food coloring to achieve a rich black color that's taken to the next level with our velvety smooth black cocoa buttercream!
Print
Pin
Servings: 14 Cupcakes
Equipment
- Closed Star Piping Tip Like Wilton 2D or Ateco 852
Ingredients
For The Black Velvet Cupcakes:
- ¾ cup Gluten-Free Measure-For-Measure Flour* (90 grams)
- ⅓ cup Black Cocoa Powder (30 grams)
- ½ teaspoon Baking Soda
- ½ teaspoon Kosher Salt
- 1 cup Granulated Sugar (200 grams)
- ½ cup Sour Cream (120 grams)
- ¼ cup Oil (50 ml)
- 2 Large Eggs Room Temperature
- 1 ½ teaspoons Vanilla Extract
- 1 teaspoon White Vinegar
For The Black Velvet Buttercream:
- 1 cup Butter, Softened (226 grams/2 sticks)
- ¾ cup Black Cocoa Powder (72 grams)
- 1 teaspoon Vanilla Extract
- ¼ teaspoon Kosher Salt
- 3 cups Powdered Sugar (360 grams)
- 3-5 Tablespoons Heavy Cream or Milk (45-75 ml)
Instructions
First, Bake The Cupcakes
- Preheat & Prep. To start, preheat the oven to 350 degrees F. Line a 12-cup metal muffin pan with parchment paper liners and set aside. (You'll need to bake an additional 2 cupcakes in a second batch later.)
- Combine The Dry Ingredients. In a medium bowl, combine gluten-free flour, black cocoa powder, baking soda, and salt. Whisk to combine, then set aside.
- Mix The Wet Ingredients. In a large mixing bowl, combine the sugar, sour cream, oil, eggs, vanilla, and vinegar. Whisk until smooth.
- Add Dry Ingredients To Wet Ingredients. Next, add the dry ingredients to the wet ingredients and stir until just combined.
- Scoop & Bake Cupcakes. Use a large cookie scoop to measure about 3 Tablespoons of batter into each muffin cup. (Remember you'll have enough for 2 extra cupcakes in a second batch, so try not to overfill the muffin cups.) Bake cupcakes 18-20 minutes.
- Cool Completely Before Frosting. Let the cupcakes cool in the muffin pan 2-5 minutes, then transfer to a wire rack to finish cooling completely before frosting. Bake your remaining 2 cupcakes and let them cool as well. You want the cupcakes fully cool before frosting, or the frosting will melt.
Next, Make The Frosting & Decorate The Cupcakes
- Beat The Butter. Add softened butter to the bowl of a stand mixer (or a large mixing bowl). Using the paddle attachment (or a hand mixer), beat the butter on medium-high speed for 2-3 minutes, or until very smooth and light in texture. (It should look significantly lighter in color & have increased in volume.)
- Add Most Of Your Ingredients. Scrape down the sides of the bowl and add black cocoa powder, powdered sugar, vanilla, salt, and 3 Tablespoons of heavy cream to the mixer.
- Mix on LOW first. On LOW speed, pulse the mixer a few times so the powdered sugar and cocoa doesn’t poof out the sides of the bowl. (You can also add the dry ingredients in small amounts if you prefer to avoid messes)
- Increase The Speed. Once it’s just mixed together, add 1-2 tablespoons more of cream, along with the corn syrup (if using). Increase the speed of the mixer to medium and mix for another 1-2 minutes, or until the buttercream is light and smooth. Ideally, you want it smooth and light without a lot of extra air bubbles.
- Finish The Frosting. Use a flexible spatula to scrape down the sides of the bowl and press out any extra air bubbles, if you can. At this point, the frosting should be smooth and easy to spread or pipe. It should hold its shape on a spatula if you rotate it around (which means it will hold its shape when piped.)
- Frost The Cupcakes. Transfer the frosting to a piping bag fitted with a large closed star tip (like Wilton 2D or Ateco 852). Hold the piping bag straight up, with the tip pointed down. Starting at the center of each cupcake pipe frosting into a rosette on top of each cupcake. (Start in the center of the cookie and continue to move around the circle of the cookie until you get close to the edges.) If you don’t have a piping tip, you can use an offset spatula to frost the cupcakes.
- Serve & Store. Store 1-2 days at room temperature in an airtight container or refrigerate up to 3-4 days. Cupcakes can also be frozen up to 2 months.
Notes
- Gluten-Free Flour. We highly recommend King Arthur Measure-For-Measure Gluten-Free Flour for these cookies. If you use another brand, be sure it contains xanthan gum and weigh or measure carefully!
- Troubleshooting The Frosting. If the frosting is too thick or stiff to pipe or spread easily, add more cream 1 teaspoon at a time, until you reach your desired texture. If the frosting is too thin, add more powdered sugar or cocoa powder 1 Tablespoon at a time until you reach the correct texture. If the frosting warms up too much and starts to melt, chill in the refrigerator for 15-20 minutes or until it’s set again.
Video
Find the recipe:
sweetsandthankyou.com/black-velvet-cupcakes/